
Did you know that the diesel engine control module (ECM) is often called the “brain” of your vehicle? Without it, your engine may misfire, stall, or refuse to start at all. But what happens when this vital component fails? Can you really fix it quickly without spending a fortune or waiting weeks for repairs? If you’ve been searching for how to fix diesel ECM issues quickly, you’re in the right place.
In this guide, we’ll provide a detailed, step-by-step approach that helps you diagnose, repair, or replace your ECM efficiently, minimizing downtime and restoring your diesel engine’s performance.
What Are the Common Diesel ECM Issues?
The ECM is responsible for managing key engine functions such as:
- Fuel injection timing
- Air-to-fuel ratio
- Turbo boost levels
- Emission control systems
When an ECM malfunctions, it can trigger performance issues, warning lights, or even prevent your engine from starting. Common causes include:
- Electrical surges or water damage
- Software corruption
- Faulty sensors sending incorrect data
- General wear and tear over time
“The ECM may be small, but when it fails, the whole engine can suffer.”
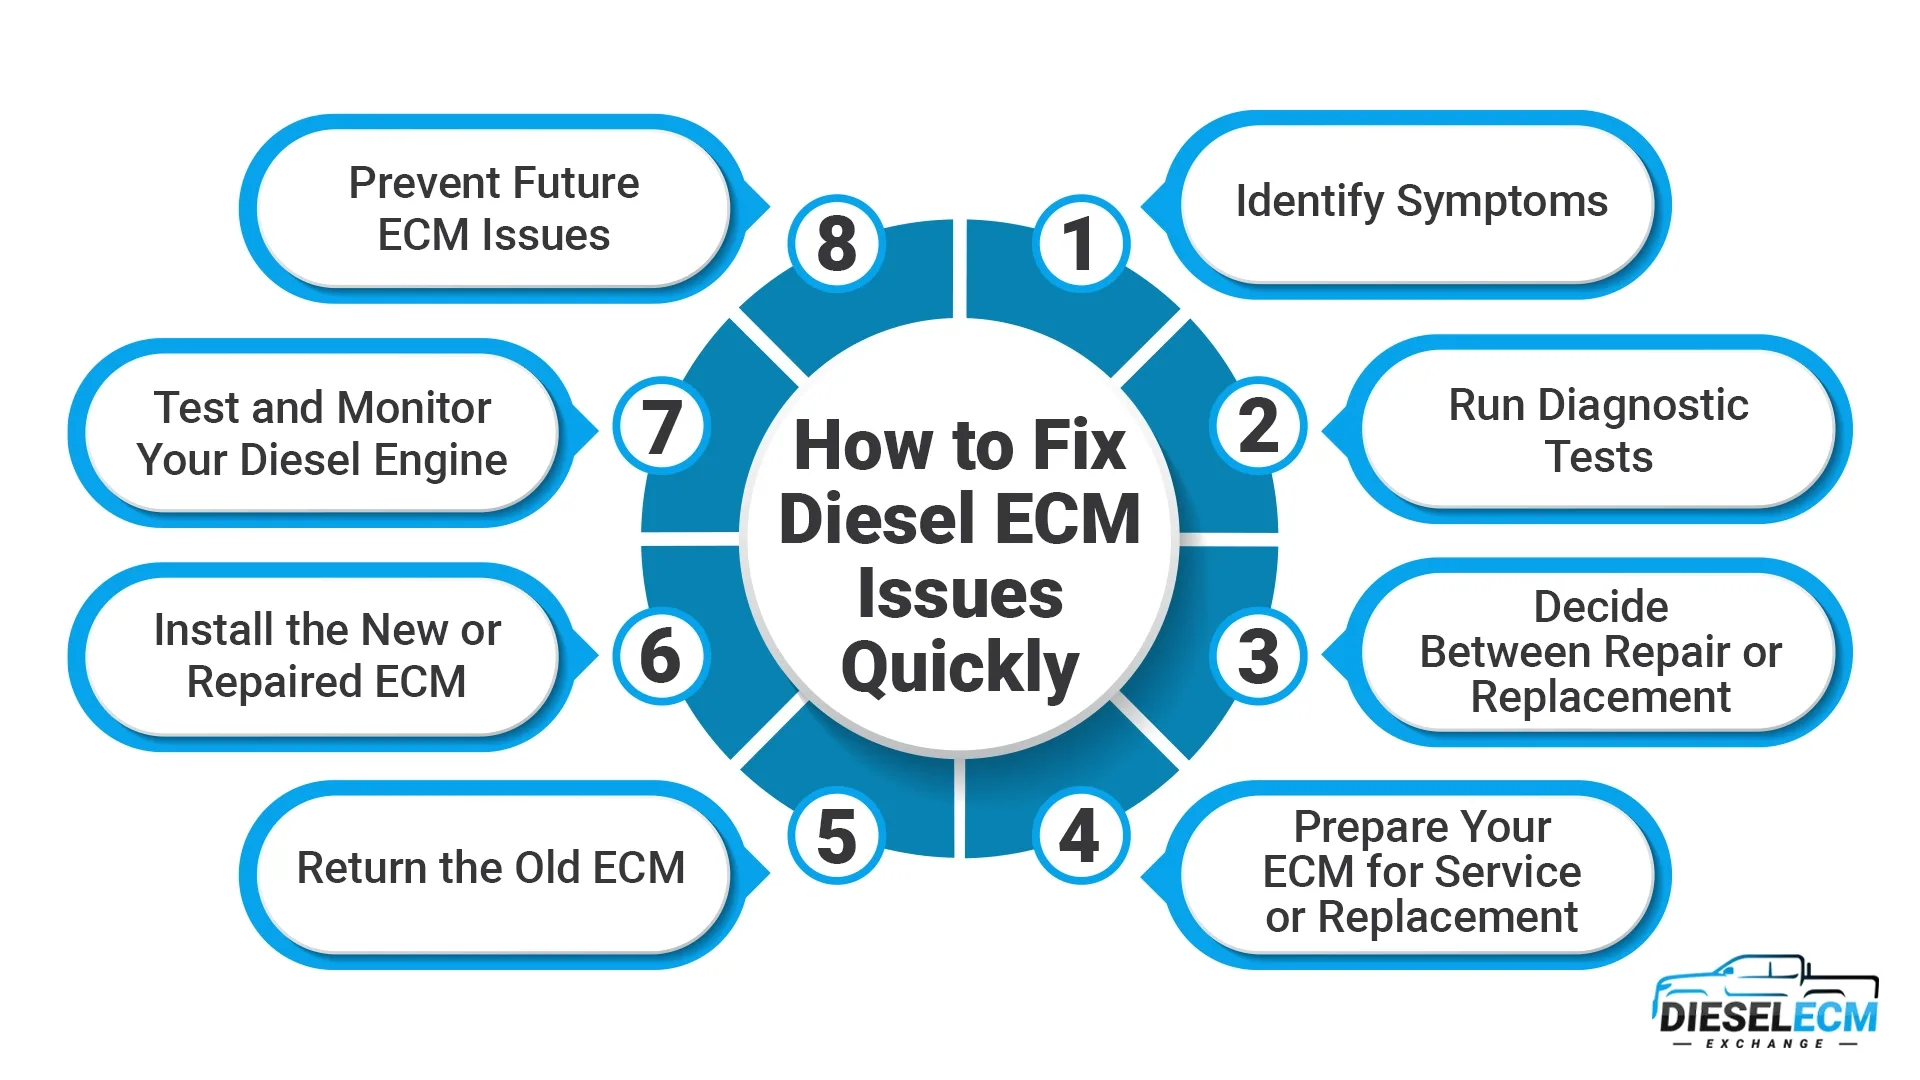
Step 1: Identify Symptoms
Before taking any action, it’s important to understand the signs of a failing ECM. Recognizing symptoms early allows for quicker resolution and prevents further damage. Observing patterns in engine performance can guide you to the source of the problem.
Common symptoms include:
- Difficulty starting the engine, such as repeated cranking or delayed ignition
- Engine stalling or hesitation during acceleration or idle
- Sudden drop in fuel efficiency and engine power
- Frequent check engine light warnings
- Recurring error codes that don’t resolve after restarting
Tip: Keep a log of when and how these issues occur, including weather conditions, driving patterns, and engine load, to help with accurate diagnosis.
Step 2: Run Diagnostic Tests
Once you have identified symptoms, the next step is to confirm whether the ECM is the root cause. Using diagnostic tools ensures that you’re targeting the right component and saves time and money. Professional mechanics or an OBD-II scanner can provide detailed error codes.
Steps to run diagnostics:
- Connect the scanner to the vehicle’s OBD-II port.
- Turn the ignition on without starting the engine.
- Read and note all error codes and freeze-frame data.
- Check power and grounds at the ECM. Verify the module is receiving proper 12V power and has a clean, solid ground. Loose or corroded ground connections can mimic a failed ECM and must be ruled out before further diagnosis.
- Research the codes or consult a professional to confirm whether the issue points to the ECM itself or to related sensors, wiring, or other components.
This addition strengthens the diagnostic process and prevents unnecessary ECM replacement.
Tip: Some codes may be misleading; only an experienced technician can differentiate between a sensor issue and an actual ECM failure.
Step 3: Decide Between Repair or Replacement
After confirming ECM failure, it’s crucial to select the solution that best fits your situation. Factors to consider include the severity of the damage, the time you can allocate for repair, and the cost involved. Making the right choice ensures quick restoration of your diesel engine.
Replacement
Replacing the ECM is often the fastest way to get your diesel back on the road. Pre-programmed modules eliminate the need for complex setup and minimize vehicle downtime.
- Use pre-programmed modules compatible with your vehicle’s engine and model.
- Installation is quick and minimizes downtime.
- Take advantage of core charge reimbursement by returning the faulty ECM, making it cost-effective.
Repair and Reprogramming
When the ECM is physically intact but software or internal components are failing, repair and reprogramming is a cost-effective option.
- Ideal if the ECM is physically intact but software or internal components are failing.
- Ship your ECM to a trusted service provider.
- Technicians diagnose, repair, and reprogram the unit before returning it.
- Often more affordable than a complete replacement.
Professional Service Option
For a reliable and efficient solution, consider Diesel ECM Exchange. They specialize in high-quality replacement and repair of Diesel ECMs, ECUs, and FICMs and offer:
- Fast turnaround for repairs and replacements
- Pre-programmed replacement modules ready to install
- Core charge reimbursement on returned faulty modules
- Expert technicians for reprogramming and repairs
“Using a professional service ensures your diesel engine is back on the road quickly and safely.”
Step 4: Prepare Your ECM for Service or Replacement
Before sending your ECM for service or installing a new one, preparation is key. Proper preparation avoids damage and ensures the replacement or repaired module works correctly.
Preparation steps include:
- For replacement: Verify that the module is pre-programmed and compatible with your engine. Ensure warranty and core charge details are confirmed.
- For repair: Safely package your ECM using anti-static materials. Include any diagnostic codes, previous error logs, and your vehicle specifications to ensure accurate service.
Tip: Keep photographs of the ECM before removal to help with correct reinstallation and avoid wiring mistakes.
Step 5: Return the Old ECM
Returning your faulty ECM is an important part of the replacement process. Doing so ensures you receive any applicable core charge reimbursement and supports recycling efforts.
Return steps include:
- Send your faulty ECM back to claim the core charge refund.
- Ensure proper packaging to prevent damage during transit.
- Track the shipment for confirmation to avoid losing the reimbursement.
Step 6: Install the New or Repaired ECM
Installing the ECM correctly is crucial for proper engine operation. Following safety and installation procedures helps ensure a smooth startup and prevents damage to the new module.
Installation steps include:
- Disconnect the vehicle battery to prevent short circuits.
- Carefully remove the old ECM and disconnect all wiring harnesses.
- Connect the new or repaired ECM, ensuring all plugs and connectors are fully seated and secure.
- Check if your vehicle requires a Key/Immobilizer relearn. Even pre-programmed units may need to be synced to your specific ignition key security system.
- Reconnect the battery and follow any specific initialization or relearn procedures recommended by the supplier or manufacturer.
If you are unsure about immobilizer relearns, programming requirements, or installation steps, consider professional installation to avoid electrical, security, or programming issues.
Tip: Verify torque settings for mounting bolts if provided, to avoid vibration-related issues.
Step 7: Test and Monitor Your Diesel Engine
After installation, testing, and monitoring, the engine ensures the ECM is functioning correctly and the vehicle operates as expected. Proper evaluation prevents future issues.
Testing steps include:
- Start the engine and observe performance, listening for unusual noises or hesitation.
- Confirm the check engine light is off and error codes are cleared.
- Perform a short test drive under various conditions, such as city traffic and highway speeds.
- Monitor fuel consumption and engine responsiveness over several days to ensure the ECM is functioning correctly.
Tip: Re-scan with an OBD-II tool after a few days to verify no new codes appear.
Step 8: Prevent Future ECM Issues
Preventive measures can extend the life of your ECM and reduce the likelihood of future problems. Regular maintenance and careful monitoring go a long way.
Preventive steps include:
- Check the weather seals on the ECM connectors. If the rubber seal is cracked or missing, moisture can wick into the pins and short the unit. Also, ensure connectors are fully seated and locked.
- Regularly inspect wiring and connectors for corrosion, bent pins, or physical damage.
- Keep sensors and other engine components in good working order to prevent faulty signals from placing stress on the ECM.
- Consider periodic ECM software updates if offered by the manufacturer.
Conclusion
Fixing diesel ECM issues quickly requires a detailed, step-by-step approach. Identify symptoms, run diagnostic tests, and decide whether to repair or replace your ECM. Prepare the module properly, return the old ECM for reimbursement if applicable, and install the repaired or new unit carefully. Test and monitor performance, and take preventive measures to avoid future issues. Services like Diesel ECM Exchange provide high-quality replacement and repair for Diesel ECMs, ECUs, and FICMs, making it easy to get back on the road fast.
Act fast, follow each step carefully, and ensure your diesel performs at its peak.